How to Calculate Decorative Rock Tons, Coverage & Cost
Wondering how many tons of decorative rock you need? Learn how to measure your yard, convert square feet to tons, and estimate material and installation costs.
Figuring Out Decorative Rock: A Real Call, Real Numbers
We recently got a call from a community manager — we’ll call her Susan — who manages a manufactured home community not far from us. She was standing out front at their main gate, looking at a tired gravel area that needed a fresh rock fill.
Susan told us she wanted a pinkish decorative rock (something like Apache Red), but she didn’t need a deep layer. “We just need about an inch more coverage,” she said. Her big questions were the same ones we hear all the time:
- How many tons of rock do we need?
- How much area does one ton cover?
- What will the material and installation cost look like?
In this guide, we’ll walk you through the same explanation we gave Susan so you can estimate your own project with confidence.
Step 1: Decide Your Depth of Gravel or Rock
Susan wanted just a “top-off” — about 1 inch of additional rock. That’s pretty common when you already have some gravel down and just want to freshen it up.
For most decorative rock projects, here are typical depths:
- 1 inch: Light refresh over existing rock; not ideal for bare dirt.
- 2 inches: Minimum for brand-new areas over weed barrier.
- 3 inches: Heavier coverage, better weed suppression, longer-lasting look.
Before you do any math, decide which depth makes sense for your yard. In Susan’s case, we based everything on a 1-inch top-off.
Step 2: Understand Coverage per Ton
On the call, Susan asked us, “What would one ton cover, even if we were trying to get like an inch of additional coverage?” Our answer: for that type of decorative rock, it’s roughly 100 square feet per ton at about 1 inch deep.
As a simple rule of thumb for many common 1/2"–3/4" decorative rocks:
- 1 inch deep: about 100 sq ft per ton
- 2 inches deep: about 50 sq ft per ton
- 3 inches deep: about 35 sq ft per ton (varies by rock size)
Coverage can vary a bit by rock size and shape, but these numbers give you a solid starting point for planning.
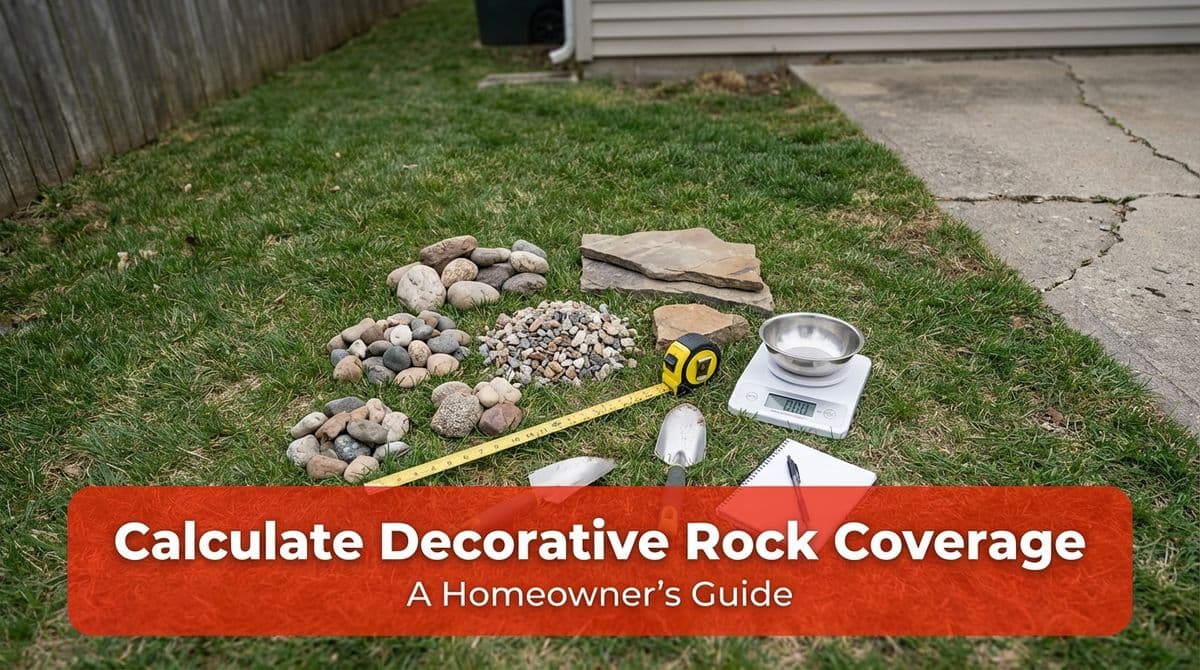
Step 3: Measure Your Area (the Easy Way)
You don’t need fancy tools to do this. Grab a tape measure and sketch the space on paper. For most front yards or entry areas, you can break the space into simple shapes.
For a rectangular area (like many entries or side yards):
- Measure the length in feet.
- Measure the width in feet.
- Multiply: length × width = square feet.
Example: If the front strip by your gate is 10 feet by 40 feet:
- 10 ft × 40 ft = 400 square feet.
If the space is irregular, just break it into two or three rectangles, calculate each one, then add them together.
Step 4: Convert Square Feet to Tons
Once you know your square footage and your target depth, you can estimate tonnage. Since Susan wanted about 1 inch of additional rock, we used the 100 sq ft per ton guide.
Basic formula for 1-inch top-off:
- Tons needed ≈ (Total square feet) ÷ 100
Using our 400 sq ft example:
- 400 sq ft ÷ 100 = 4 tons (at ~1 inch depth)
If you’re doing a brand-new rock area at 2 inches deep, just divide by 50 instead of 100. For 3 inches, divide by roughly 35.
Step 5: Estimate Material and Installation Cost
On the call, Susan asked us about pricing for an Apache Red–type rock, and also if there was a less expensive option in a similar color family.
Here’s roughly how we broke it down for her (these numbers are just an example based on that conversation and may vary):
- Decorative rock (Apache Red–style): about $80 per ton.
- Alternative pinkish rock (Pink Coral–type): about $48 per ton.
- Installation (spreading rock): about $50 per ton through a partnered landscaper.
Using our 4-ton example for a 400 sq ft entry at 1 inch deep:
- Material, Apache Red–style: 4 tons × $80 = $320
- Material, Pink Coral–style: 4 tons × $48 = $192
- Installation: 4 tons × $50 = $200
So for Susan, that gave us a ballpark range from just under $400 on the budget rock to just over $500 on the premium rock, including spreading, for that sample-sized area.
Choosing Rock Type: Color, Size, and Practical Tips
Like Susan, many homeowners start with color: she wanted a pinkish tone to match what was already at the community entrance. That’s a great first filter, but there are a few other things to consider.
Color & Heat
Lighter rocks (creams, light pinks, tans) tend to reflect more sun and stay a bit cooler. Darker rocks (charcoal, deep reds) can get quite hot in direct sun, which matters if the rock is near walkways, entry gates, or pet areas.
Rock Size & Function
- 1/2" to 3/4" rock: Our most common choice for front yards and entries; good coverage and easier to walk on.
- 1"+ rock: Bolder look, but can be harder for strollers, wheelchairs, or bike tires.
- Fines/compactable rock: Better for paths and seating areas where a firmer surface is helpful.
Drainage & Weed Control
If you’re working over bare soil, we usually recommend:
- Installing a weed barrier fabric first for easier long-term maintenance.
- Maintaining at least 2–3 inches of rock in new areas so the fabric stays covered and looks finished.
- Keeping rock slightly sloped away from structures so water drains properly.
Lead Times and Scheduling Your Project
Susan also needed to know, “If we ordered tomorrow, how long until we could get it delivered and spread?” In her case, we let her know that, depending on our landscaper partner’s schedule, we could often get projects done within the same week, but we always confirm exact availability before locking anything in.
For your own project, it’s smart to:
- Get your measurements and color choice ready first.
- Call ahead to check current pricing and lead times.
- Ask whether the supplier can both deliver and spread the rock, or if you’ll need a separate landscaper.
Putting It All Together for Your Yard
To recap, here’s the simple path we walked Susan through, and that you can use as well:
- Decide how deep you want your rock (1–3 inches).
- Measure your area in square feet.
- Use coverage guides (about 100 sq ft per ton at 1 inch) to estimate tons.
- Multiply tons by the price per ton for materials and installation.
- Confirm delivery and spreading dates before you commit.
If you’d like help double-checking your measurements or choosing between colors like Apache Red–style or a more budget-friendly pinkish rock, we’re always happy to walk through the numbers with you just like we did with Susan.